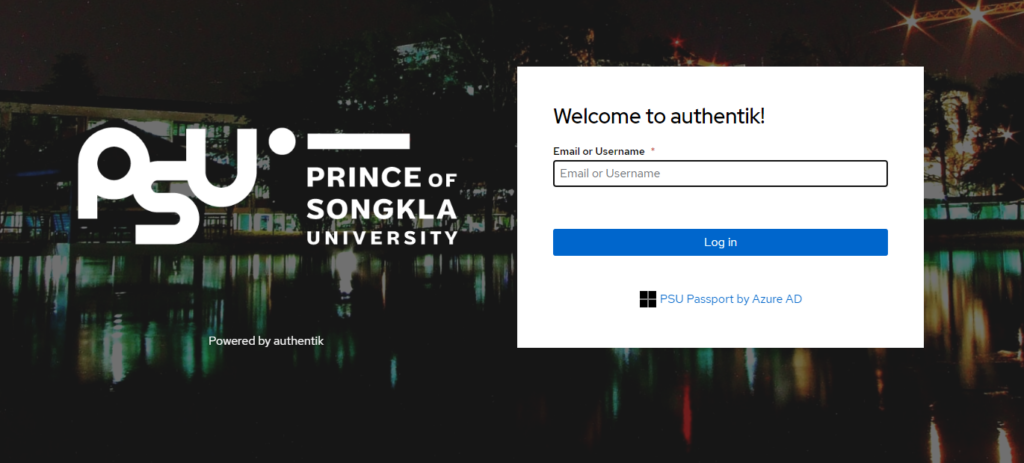
ปัจจุบันบระบบยืนยันตัวตนแบบ 2 ขั้นตอน (2FA) หรือ MFA ถูกผลักดันให้ใช้งานกันอย่างแพร่หลาย ทั้งนี้เพื่อยกระดับการรักษาความปลอดภัยของระบบสารสนเทศ คณะการแพทย์แผนไทย ม.อ. มีความมุ่งหมายที่จะเปลี่ยนแปลงระบบล๊อกอินของระบบสารสนเทศต่างๆ ทั้งหมดของคณะให้เป็น 2FA ตามนโยบายความปลอดภัยของมหาวิทยาลัยฯ ด้วย
ต่อไปนี้จะแสดงตัวอย่างการ implement ระบบเพื่อติดตั้งใช้งาน PSU Passport (Authentik) ด้วยภาษา PHP
Requirement
- PHP
- PHP 5.5, 5.6 พร้อมติดตั้ง Composer 2.0 หรือ
- PHP 7, 8 + Composer
- VScode พร้อมติดตั้ง Extension: PHP Server
Start
- สร้างโฟรเดอร์โปรเจกด้วยคำสั่ง
$ mkdir  myproject

$ cd myproject
2. ติดตั้งแพคเกจ League/oauth2-client
$ composer require league/oauth2-client3. เปิด VScode และสร้างไฟล์เพิ่มตามโครงสร้างดังภาพ

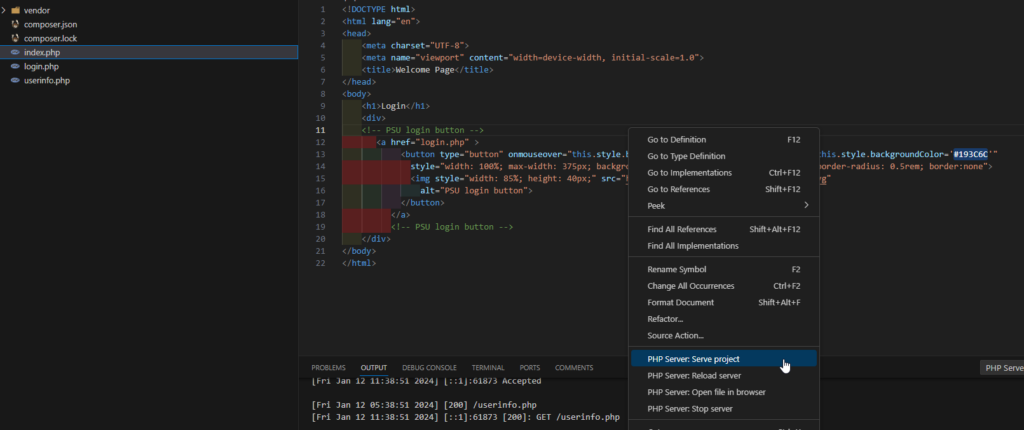
4. สร้างไฟล์ index.php
<!DOCTYPE html>

<html lang="en">

<head>

    <meta charset="UTF-8">

    <meta name="viewport" content="width=device-width, initial-scale=1.0">

    <title>Welcome Page</title>

</head>

<body>

    <h1>Login</h1>

    <div>

    <!-- PSU login button -->

       <a href="login.php" >

            <button type="button" onmouseover="this.style.backgroundColor='#294787'" onmouseout="this.style.backgroundColor='#193C6C'"

              style="width: 100%; max-width: 375px; background-color: #193C6C; padding: 8px 6px; border-radius: 0.5rem; border:none">

              <img style="width: 85%; height: 40px;" src="https://xxx.psu.ac.th/images/PSU-Passport.svg"

                alt="PSU login button">

            </button>

          </a>

          <!-- PSU login button -->

    </div>

</body>

</html>
5. สร้างไฟล์ login.php
<?php

require __DIR__ . '/vendor/autoload.php';

session_start();


$provider = new \League\OAuth2\Client\Provider\GenericProvider([

    'clientId'                => 'xxx',    // The client ID assigned to you by psu diis

    'clientSecret'            => 'xxx',    // The client password assigned to you by psu diis

    'redirectUri'             => 'http://localhost:3000/login.php',

    'urlAuthorize'            => 'https://xxx.psu.ac.th:8443/application/o/authorize/',

    'urlAccessToken'          => 'https://xxx.psu.ac.th:8443/application/o/token/',

    'urlResourceOwnerDetails' => 'https://xxx.psu.ac.th:8443/application/o/userinfo/'

]);


// If we don't have an authorization code then get one

if (!isset($_GET['code'])) {


    // Fetch the authorization URL from the provider; this returns the

    // urlAuthorize option and generates and applies any necessary parameters

    // (e.g. state).

    $authorizationUrl = $provider->getAuthorizationUrl();


    // Get the state generated for you and store it to the session.

    $_SESSION['oauth2state'] = $provider->getState();


    // Redirect the user to the authorization URL.

    header('Location: ' . $authorizationUrl);

    exit;


// Check given state against previously stored one to mitigate CSRF attack

} elseif (empty($_GET['state']) || empty($_SESSION['oauth2state']) || $_GET['state'] !== $_SESSION['oauth2state']) {


    if (isset($_SESSION['oauth2state'])) {

        unset($_SESSION['oauth2state']);
    }


    exit('Invalid state');


} else {


    try {

        //ร้องขอ Token โดยใช้ authorization code

        $accessToken = $provider->getAccessToken('authorization_code', [

            'code' => $_GET['code']

        ]);


        //ตรวจสอบว่า Token หมดอายุหรือไม่ ถ้าหมดอายุให้ขอ Refresh_token ใหม่

        if ($accessToken->hasExpired()) {

            $newAccessToken = $provider->getAccessToken('refresh_token', [

                'refresh_token' => $accessToken->getRefreshToken()

            ]);


            //ดึงข้อมูลผู้ใช้งาน

            $resourceOwner = $provider->getResourceOwner($newAccessToken);

        }

        else{

         // Token ยังไม่หมดอายุ ดึงข้อมูลผู้ใช้งาน

         $resourceOwner = $provider->getResourceOwner($accessToken);

        }

         //เก็บข้อมูลผู้ใช้งาน

         $_SESSION["User_Info"] = $resourceOwner->toArray();


        //ไปยังหน้าดึงข้อมูลผู้ใช้งาน

      header("Location: ./userinfo.php");


    } catch (\League\OAuth2\Client\Provider\Exception\IdentityProviderException $e) {

        // Failed to get the access token or user details.

        exit($e->getMessage());

    }


}
6. สร้างไฟล์ userinfo.php
<?php

session_start();

echo "<pre>";

var_dump($_SESSION["User_Info"]);
7. รันทดสอบ คลิกขวา PHP Server: Serve Project


สุดท้ายขอบคุณอนุวัฒน์ คณะ วจก. ม.อ. สำหรับคำแนะนำในการใช้งานเบื้องต้นด้วยครับ
*หมายเหตุ ตัวอย่างซอสโค้ดมีการปกปิดข้อมูลบ้างส่วนเพื่อความปลอดภัย สามารถขอคำปรึกษาการใช้งานได้ที่อีเมล niti.c@psu.ac.th และหากนำซอสโค้ดไปใช้งานต่อรบกวนช่วยอ้างถึง “ชมรมโอเพนซอร์สและฟรีแวร์ ม.อ.”


