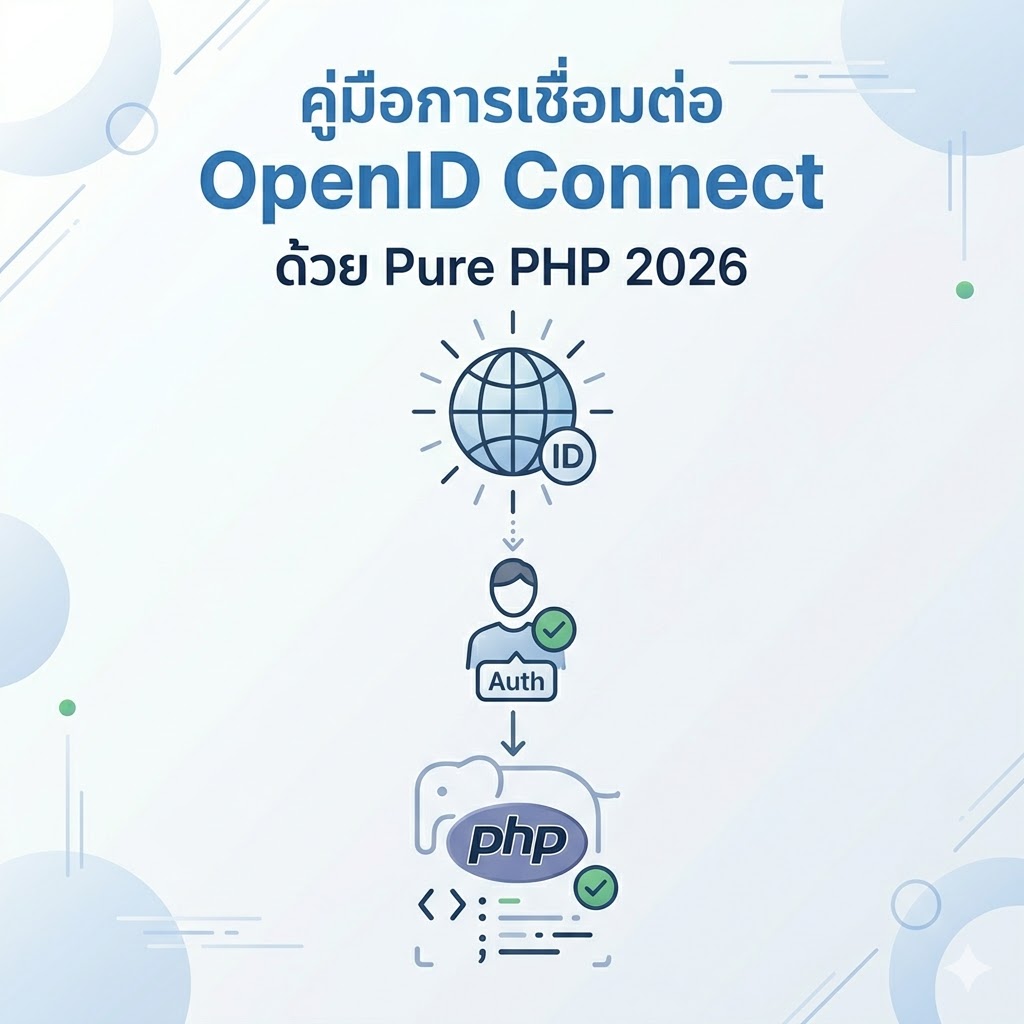
คำแนะนำการติดตั้งและใช้งาน OpenID Connect ใน PHP 8.0+ แบบดั้งเดิม พร้อมตัวอย่างการใช้งานจริง
ขั้นตอนการติดตั้งและใช้งาน
1 เตรียมสภาพแวดล้อมและ Dependencies
ติดตั้ง dependencies ที่จำเป็นสำหรับ OpenID Connect:
1.1 ติดตั้ง Composer:
curl -sS https://getcomposer.org/installer | php
php composer.phar require league/oauth2-client firebase/php-jwt guzzlehttp/guzzle
1.2 ติดตั้ง PHP Extensions:
# Ubuntu/Debian
sudo apt-get install php-curl php-json php-openssl php-mbstring

# CentOS/RHEL
sudo yum install php-curl php-json php-openssl php-mbstring

# Windows (แก้ไข php.ini)
extension=curl
extension=openssl
extension=mbstring
1.3 โครงสร้างโฟลเดอร์:
openid-php/
├── config/
│   └── config.php
├── src/
│   ├── OpenIDClient.php
│   ├── SessionManager.php
│   └── Database.php
├── templates/
│   ├── login.php
│   ├── dashboard.php
│   └── error.php
├── composer.json
├── index.php
└── logout.php
2 สร้าง OpenID Client Class
สร้างคลาสสำหรับจัดการ OpenID Connect ด้วย League OAuth2 Client:
2.1 src/OpenIDClient.php:
<?php

namespace App;

use League\OAuth2\Client\Provider\GenericProvider;
use League\OAuth2\Client\Grant\AuthorizationCode;
use Firebase\JWT\JWT;
use Firebase\JWT\Key;

class OpenIDClient
{
    private $provider;
    private $config;

    public function __construct($config)
    {
        $this->config = $config;

        $this->provider = new GenericProvider([
            'clientId'                => $config['client_id'],
            'clientSecret'            => $config['client_secret'],
            'redirectUri'             => $config['redirect_uri'],
            'urlAuthorize'            => $config['auth_url'],
            'urlAccessToken'          => $config['token_url'],
            'urlResourceOwnerDetails' => $config['userinfo_url'],
        ]);
    }

    public function getAuthorizationUrl($state = null)
    {
        $options = [
            'scope' => 'openid profile email psu_info',
        ];

        if ($state) {
            $options['state'] = $state;
        }

        return $this->provider->getAuthorizationUrl($options);
    }

    public function getAccessToken($authorizationCode)
    {
        try {
            $accessToken = $this->provider->getAccessToken('authorization_code', [
                'code' => $authorizationCode
            ]);

            return [
                'access_token' => $accessToken->getToken(),
                'refresh_token' => $accessToken->getRefreshToken(),
                'expires' => $accessToken->getExpires(),
                'id_token' => $accessToken->getValues()['id_token'] ?? null
            ];
        } catch (\Exception $e) {
            throw new \Exception('Error getting access token: ' . $e->getMessage());
        }
    }

    public function getResourceOwner($token)
    {
        try {
            return $this->provider->getResourceOwner($token)->toArray();
        } catch (\Exception $e) {
            throw new \Exception('Error getting resource owner: ' . $e->getMessage());
        }
    }

    public function validateIdToken($idToken)
    {
        try {
            $decoded = JWT::decode($idToken,
                new Key($this->config['client_secret'], 'HS256')
            );
            return (array) $decoded;
        } catch (\Exception $e) {
            throw new \Exception('Invalid ID Token: ' . $e->getMessage());
        }
    }
}
3 ตัวอย่างการใช้งาน (Usage Example)
ตัวอย่างสมบูรณ์การใช้งาน OpenID Connect ในแอปพลิเคชัน:
3.1 index.php – ตัวอย่างการใช้งาน:
<?php

require_once 'vendor/autoload.php';
require_once 'config/config.php';
require_once 'src/OpenIDClient.php';

use App\OpenIDClient;

// สร้าง client
$client = new OpenIDClient($config);

// สร้าง state สำหรับ CSRF protection
$state = bin2hex(random_bytes(16));
session_start();
$_SESSION['openid_state'] = $state;

// สร้าง authorization URL
$authUrl = $client->getAuthorizationUrl($state);

echo "<a href='{$authUrl}' class='btn btn-primary'>Login with PSU</a>";
3.2 callback.php – จัดการ response:
<?php
require_once 'vendor/autoload.php';
require_once 'config/config.php';
require_once 'src/OpenIDClient.php';
use App\OpenIDClient;
session_start();
try {
// ตรวจสอบ state
if (!isset($_GET['state']) || $_GET['state'] !== $_SESSION['openid_state']) {
throw new \Exception('Invalid state parameter');
}
$client = new OpenIDClient($config);
// รับ access token
$tokenData = $client->getAccessToken($_GET['code']);
// รับข้อมูลผู้ใช้
$user = $client->getResourceOwner($tokenData['access_token']);
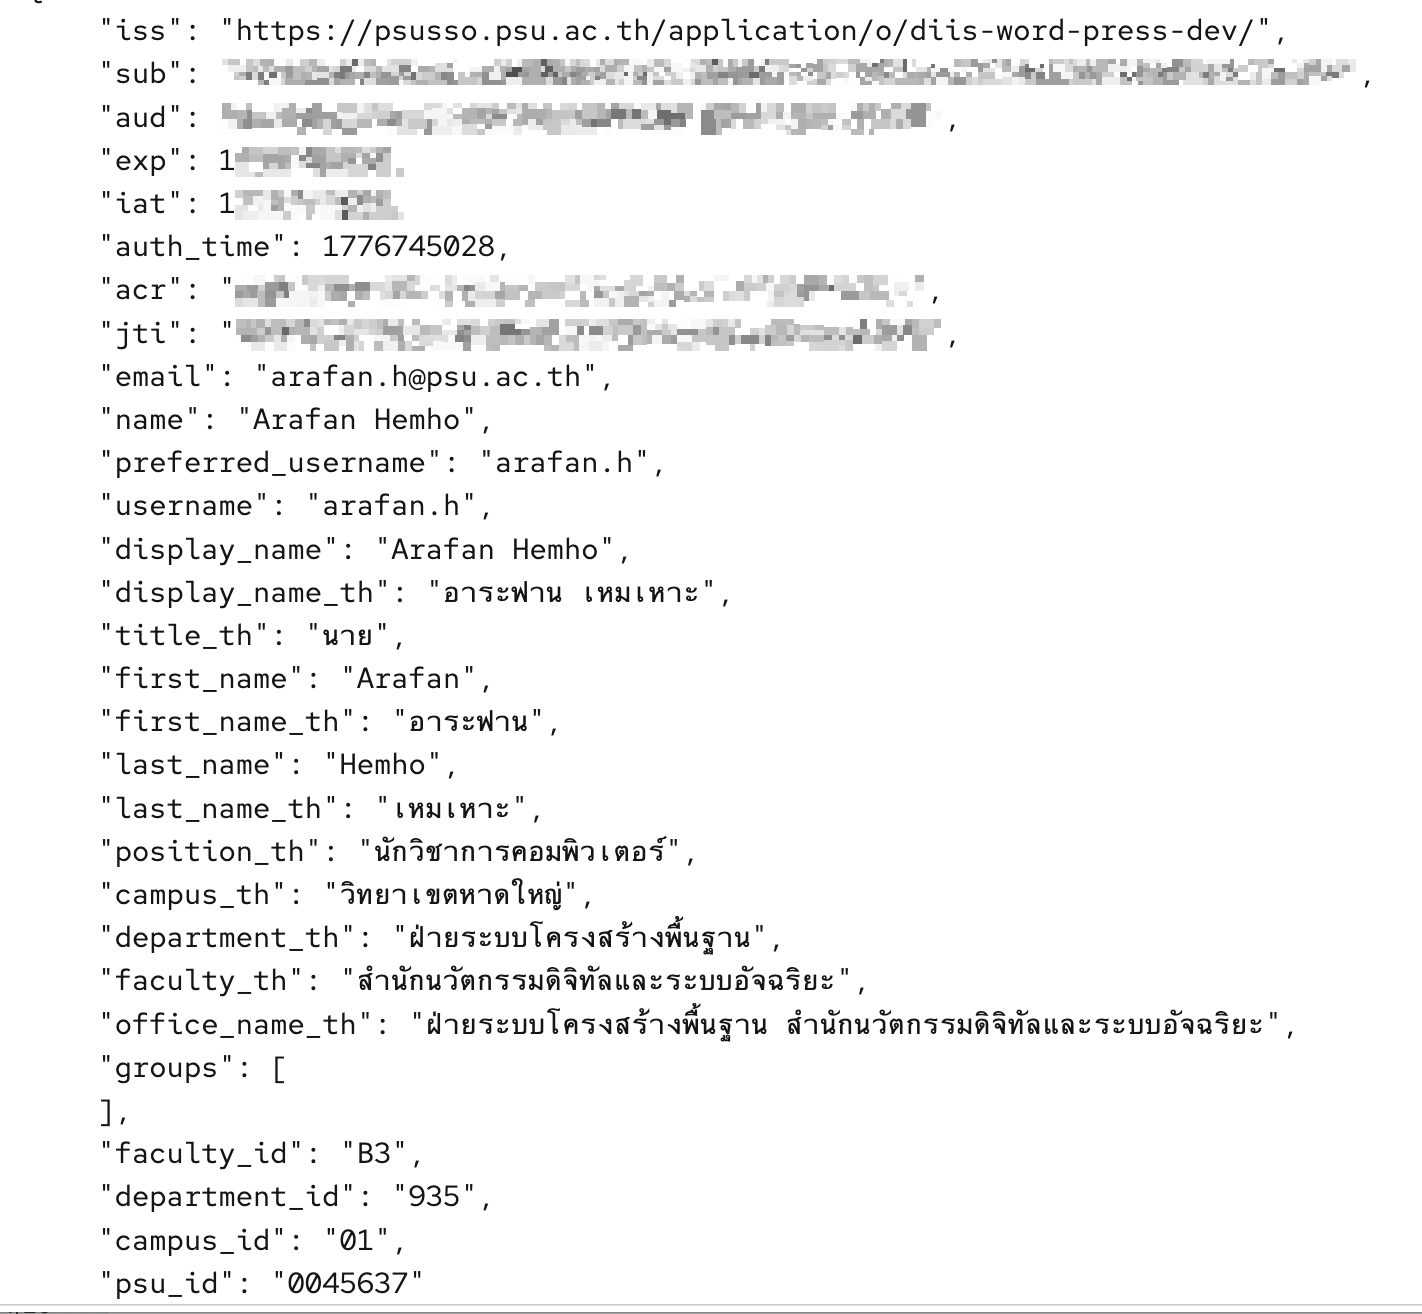
// ตรวจสอบ ID token
if ($tokenData['id_token']) {
$claims = $client->validateIdToken($tokenData['id_token']);
echo "ID Token Claims: " . print_r($claims, true);
}
// เก็บข้อมูลผู้ใช้
$_SESSION['user'] = $user;
$_SESSION['access_token'] = $tokenData['access_token'];
echo "Login Successful! User: " . $user['name'];
} catch (\Exception $e) {
echo "Error: " . $e->getMessage();
}
ต้องการความช่วยเหลือเพิ่มเติม?
หากคุณมีเอกสาร คู่มือ หรือข้อเสนอแนะที่ต้องการแบ่งปันให้กับนักพัฒนาท่านอื่น สามารถส่งข้อมูลได้ที่: arafan.h@psu.ac.th (9045)