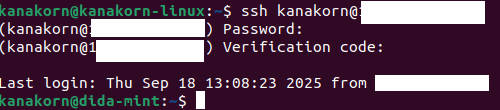
Make tokens “time-base””: yes
Update the .google_authenticator file: yes
Disallow multiple uses: yes
Increase the original generation time limit: no
Enable rate-limiting: yes
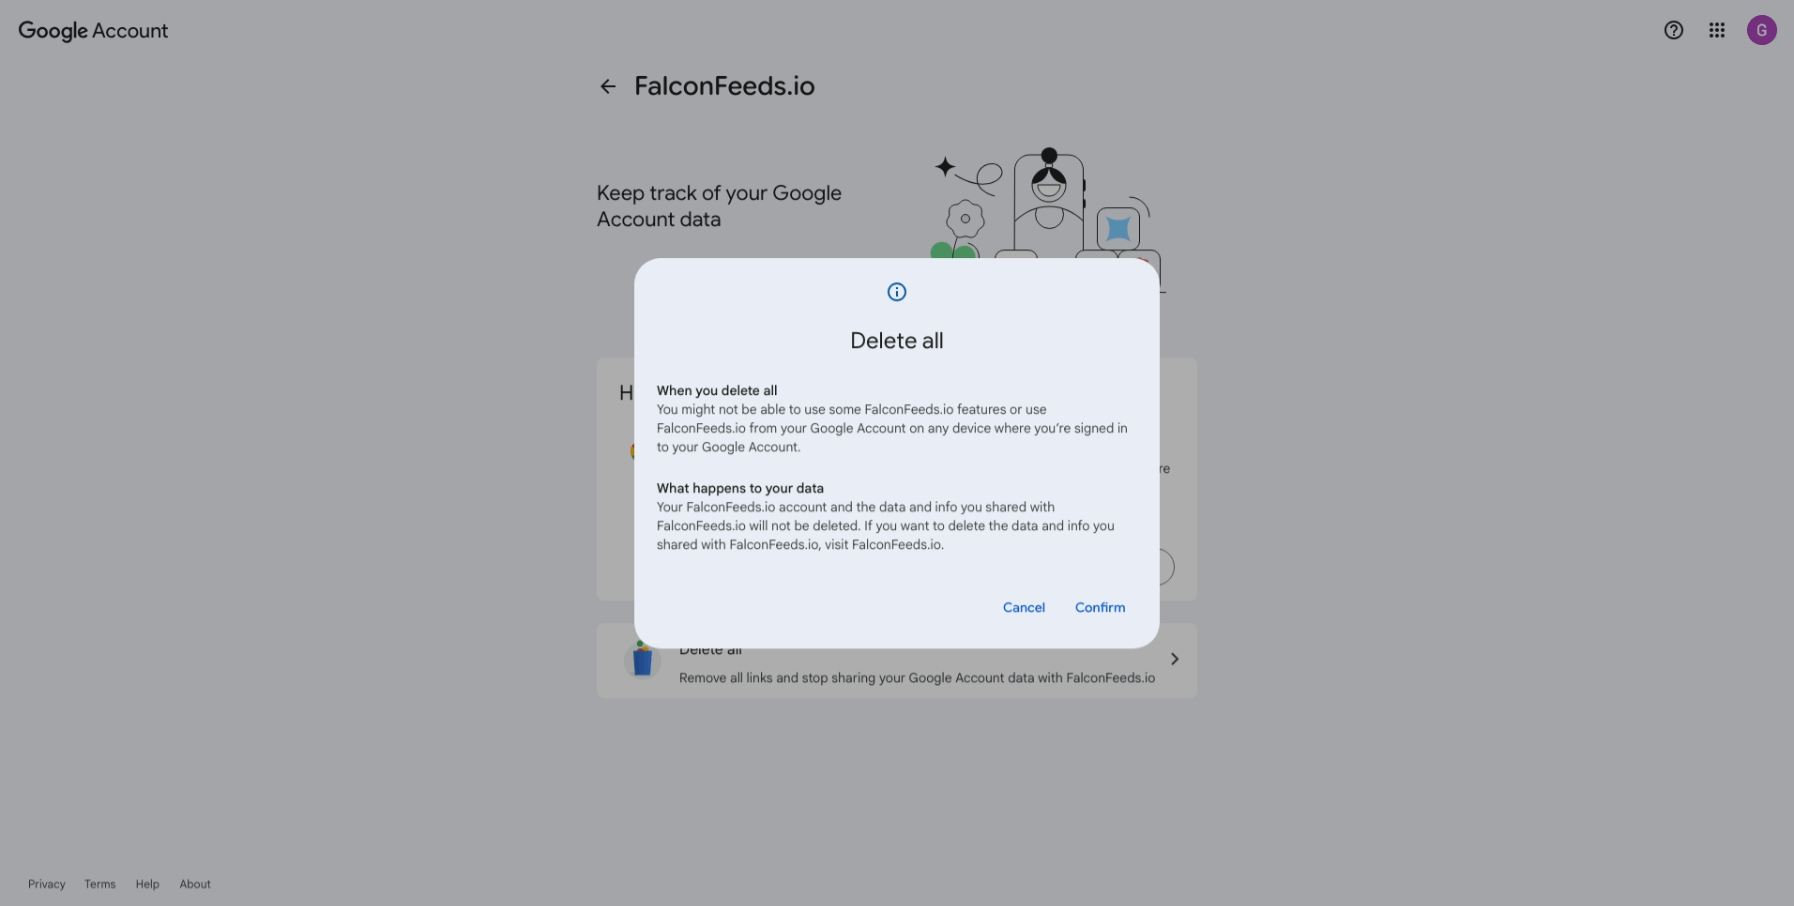
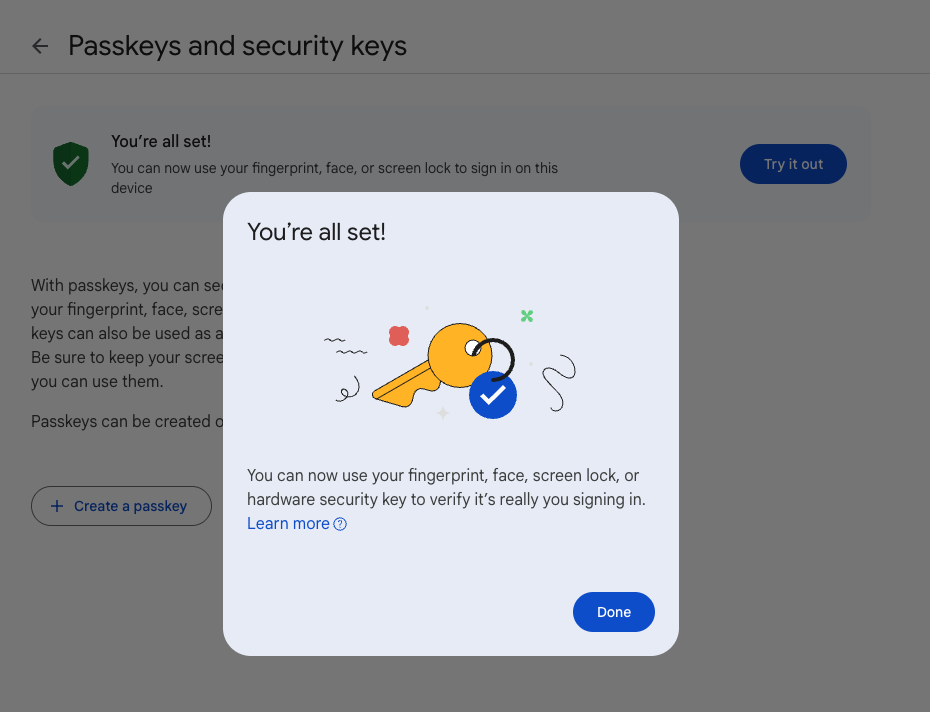
คลิก Try it out เพื่อทดสอบใช้งาาน ก็จะมีป็อบอัพให้กรอกรหัสผ่านเข้าเครื่องหรือรหัสปลดล็อคเครื่องหรือข้อมูลไบโอเมทริกอื่นๆ ที่ใช้ล็อคอินเข้าเครื่องที่เปิดใช้งานขึ้นมา
ให้กด Next ในเว็บจะได้หน้าดังภาพ ให้นำตัวเลขจาก Microsoft Authenticator ในส่วนของ Google มาใส่แล้วกด Verify
จะได้หน้าดังภาพ
คลิก Turn on อีกครั้งจะได้หน้าดังภาพ
คลิก Turn on 2-Step Verification แล้วกด Done
จะได้ดังภาพ
กดลูกศร ย้อนกลับมาดูที่หน้า Security ในส่วนของ How you sign in to Google หัวข้อ 2-Step Verification ต้องมีสถานะเป็น On ดังภาพ
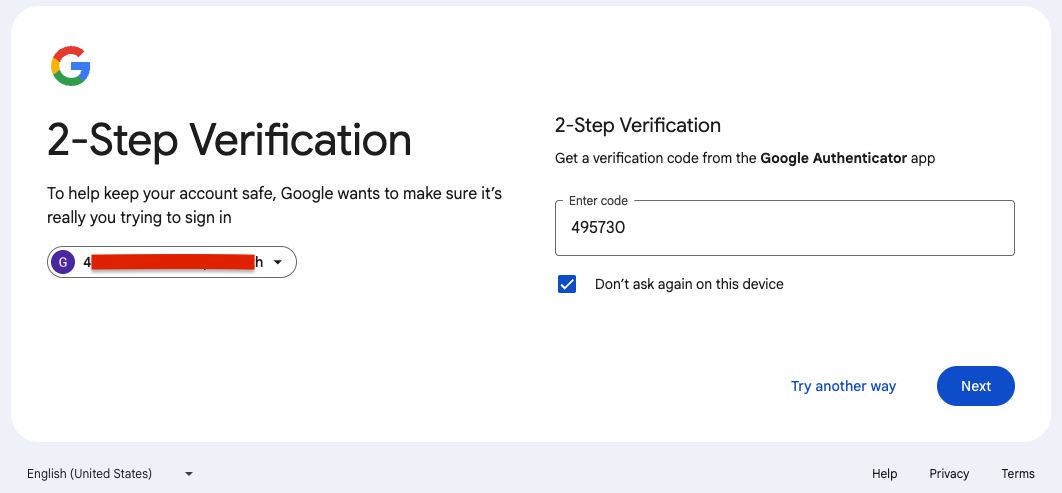
ทดสอบล็อคเอาท์และล็อคอินใหม่ เมื่อใส่รหัสผ่านแล้วจะมีหน้า 2-Step Verification ขึ้นมาถาม ให้เปิดแอ็พ Microsoft Authenticator นำรหัสจากแอ็พในหัวข้อ Google มาใส่แล้วกด Next ก็จะเข้าระบบได้เรียบร้อย
หรือหากไม่ชอบแก้ไขใน Windows สามารถแก้ไขแฟ้ม /etc/firewalld/zone/public.xml ได้เช่นกัน เมื่อเปิดไฟล์เข้าไปจะได้ว่า
<?xml version="1.0" encoding="utf-8"?>
<zone>
  <short>Public</short>
  <description>For use in public areas. You do not trust the other computers on networks to not harm your computer. Only selected incoming connections are accepted.</description>
  <rule family="ipv4">
    <source address="192.26.0.1"/>
    <port protocol="tcp" port="631"/>
    <accept/>
  </rule>
  <rule family="ipv4">
    <source address="192.100.33.12"/>
    <service name="ssh"/>
    <accept/>
  </rule>
</zone>